

X-Brace Console Table
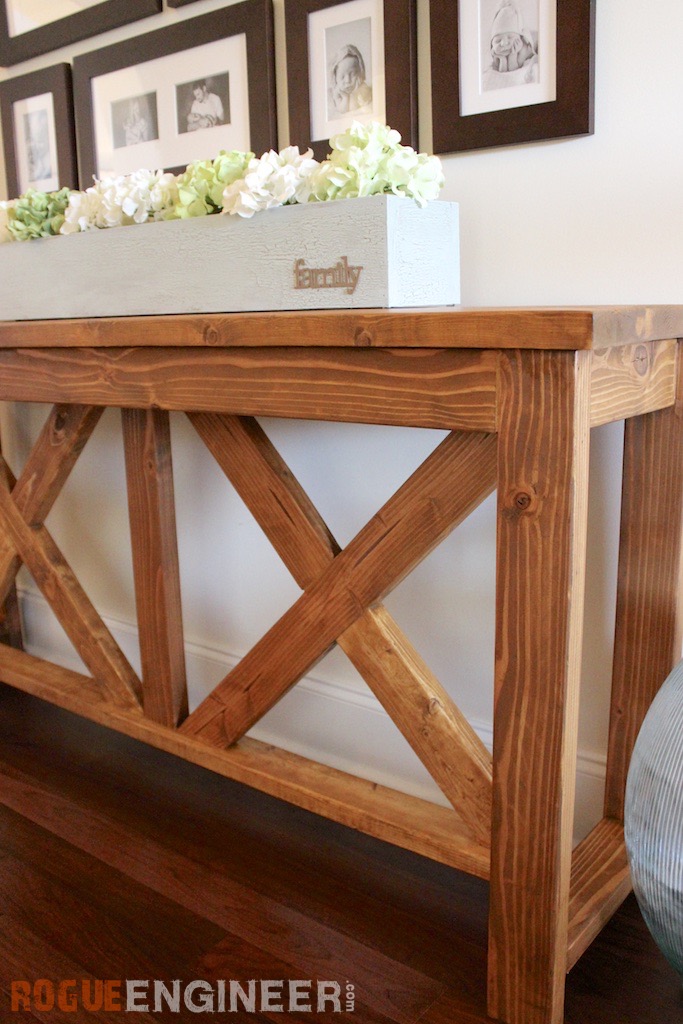
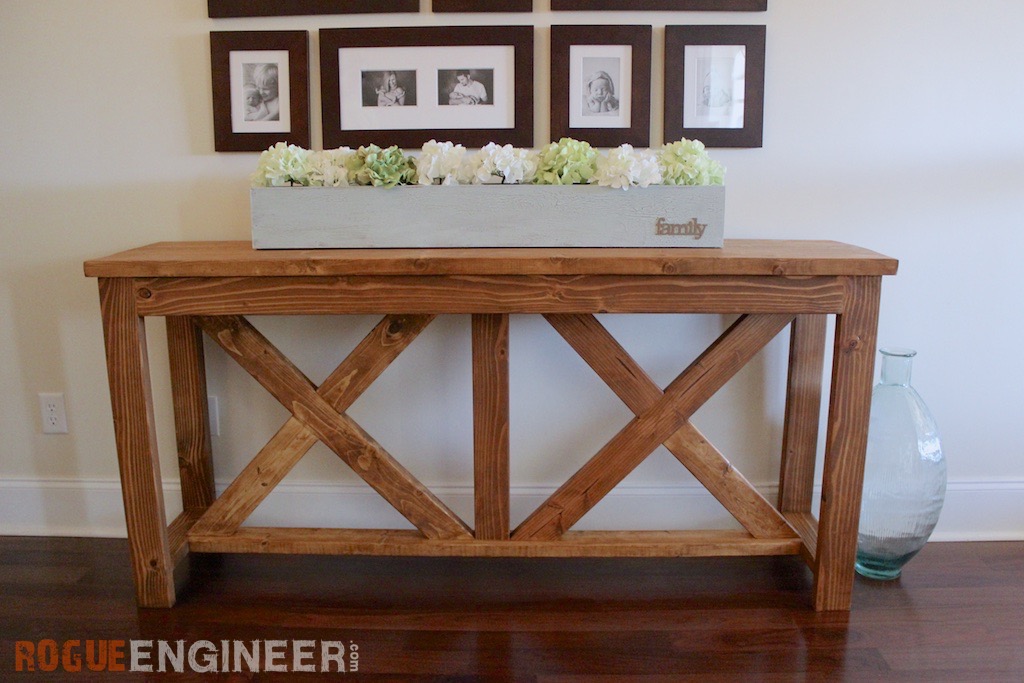
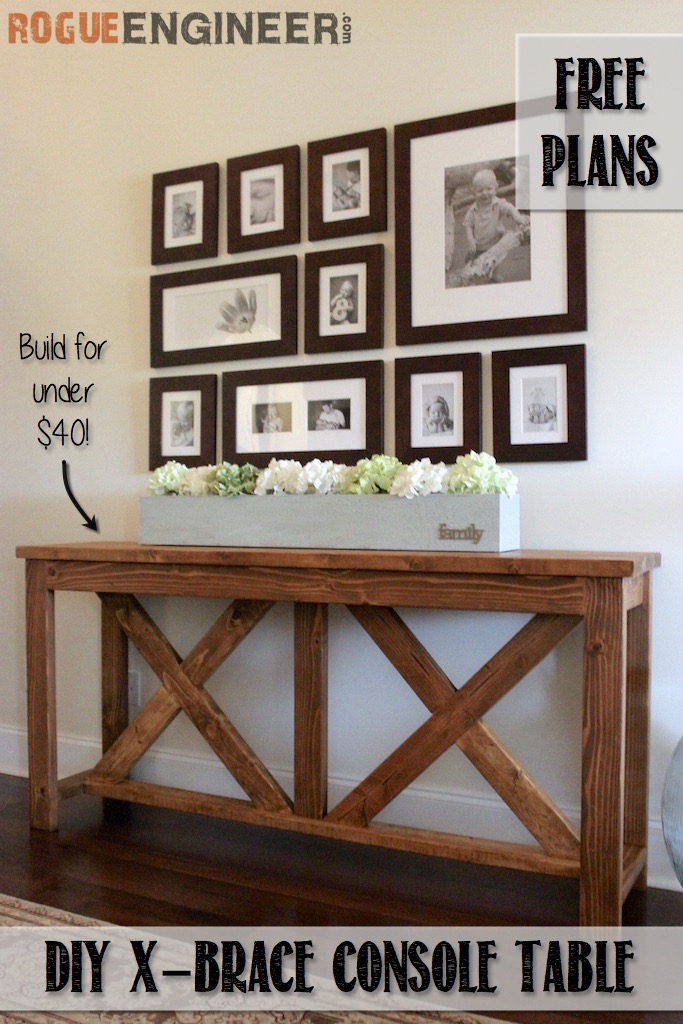
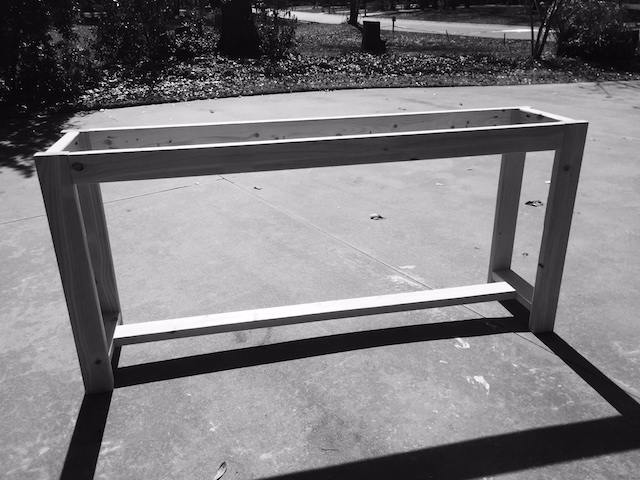
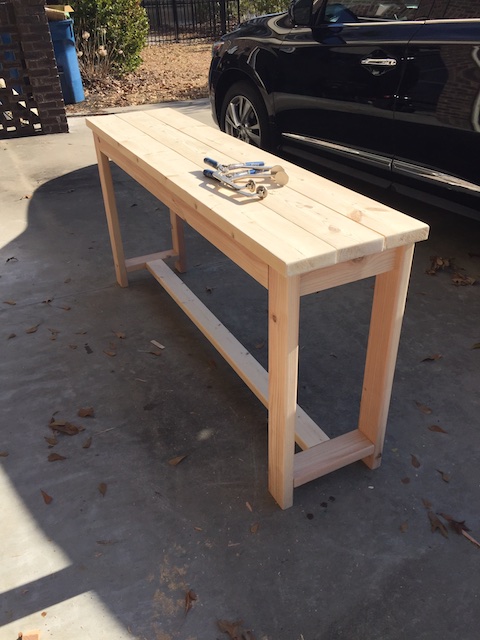
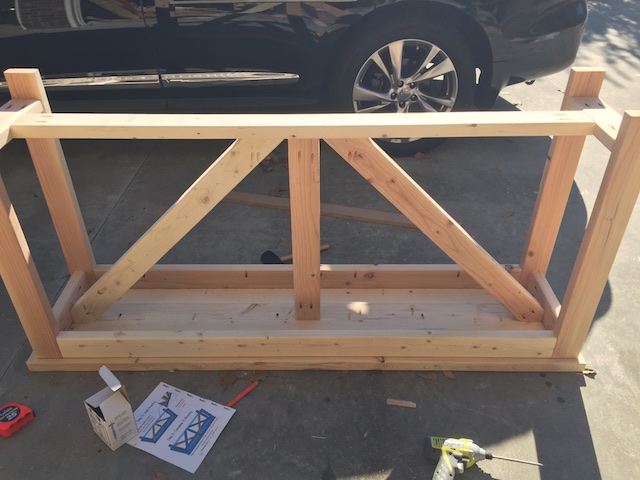
Wherever Jamie and I go nowadays all we see is furniture. This time it was a console table that we really liked at a local furniture store (yes, we troll furniture stores!) I knew I could design and build it for super cheap and it looked great so off I went. Well the problem was, I had plans to go on a ski trip that weekend and well Jamie was going to have to build this one with my plans only because I was off to hit the slopes. She has built some smaller items before but with my supervision and help. This was by far her largest project and first ever unsupervised project. I think she did an amazing job!
Can you believe we built this console table for under $40!
For sneak peeks of our upcoming projects be sure to follow me on Facebook and Instagram. Also, follow me on Pinterest to get tons of projects plans from all around the web!

Disclosure: The links provided in the “materials” and “required tools” sections are affiliate links. If you would like to support our site and help keep our content free come find out more about how we can make money with no extra cost to you.
Tools Required
Materials
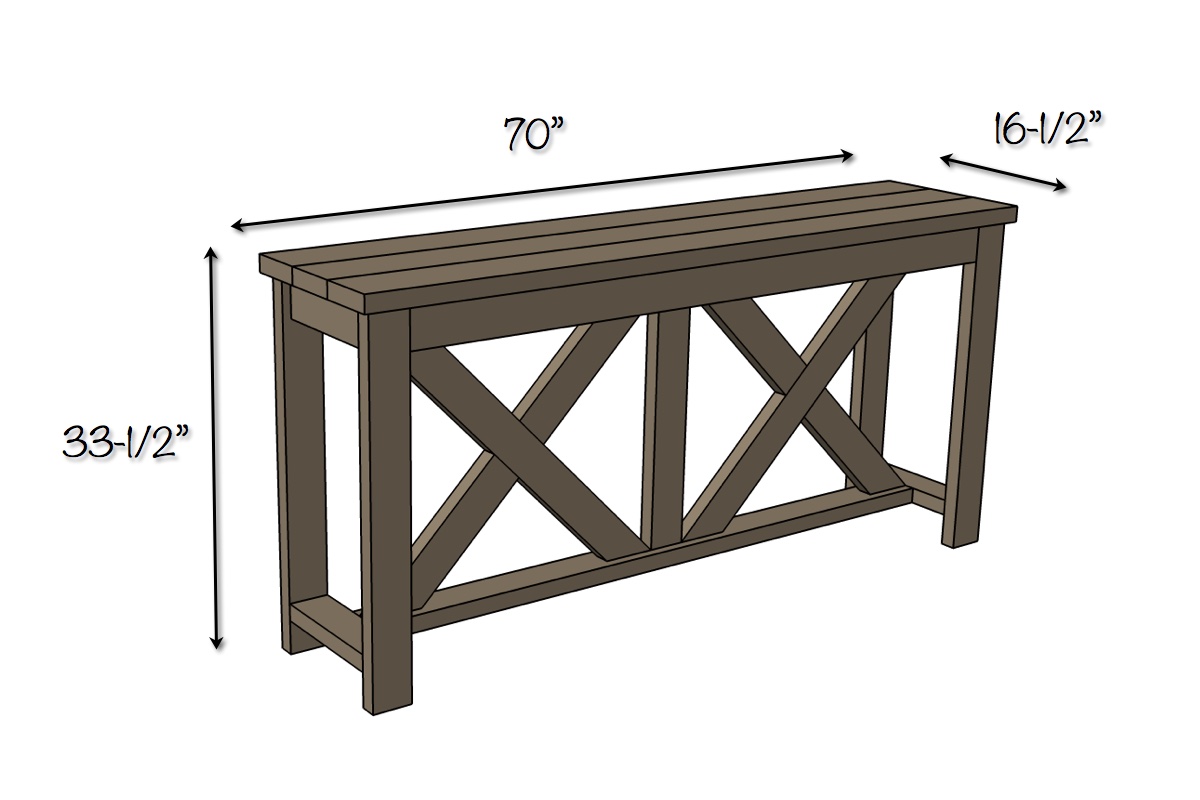
Dimensions
Cut List
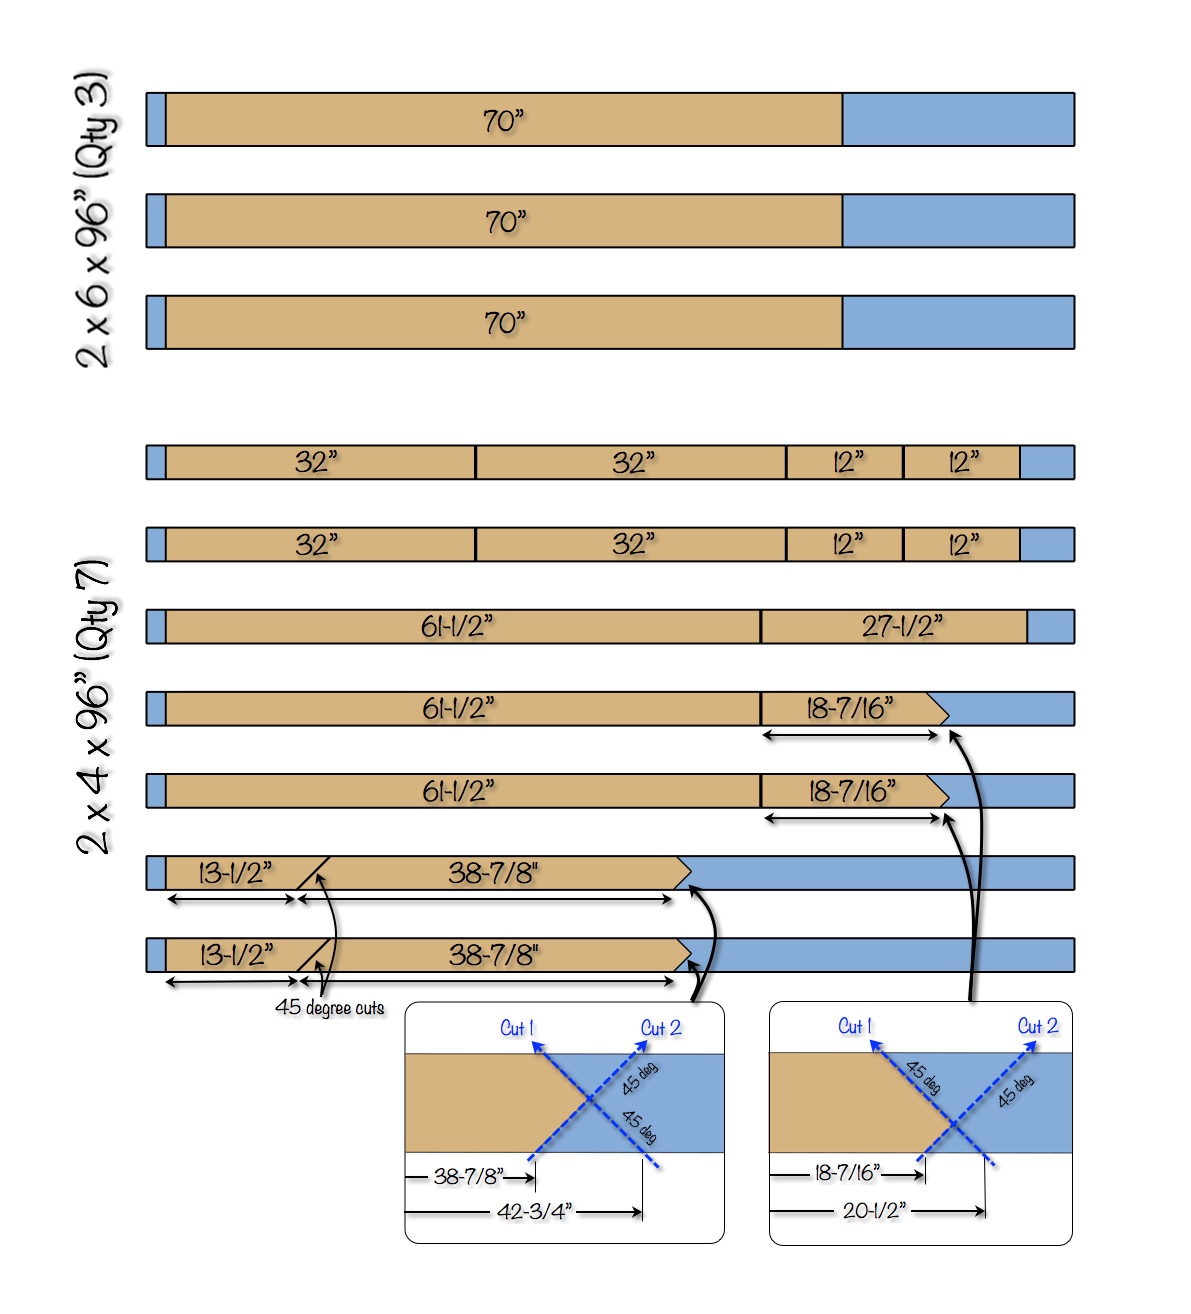
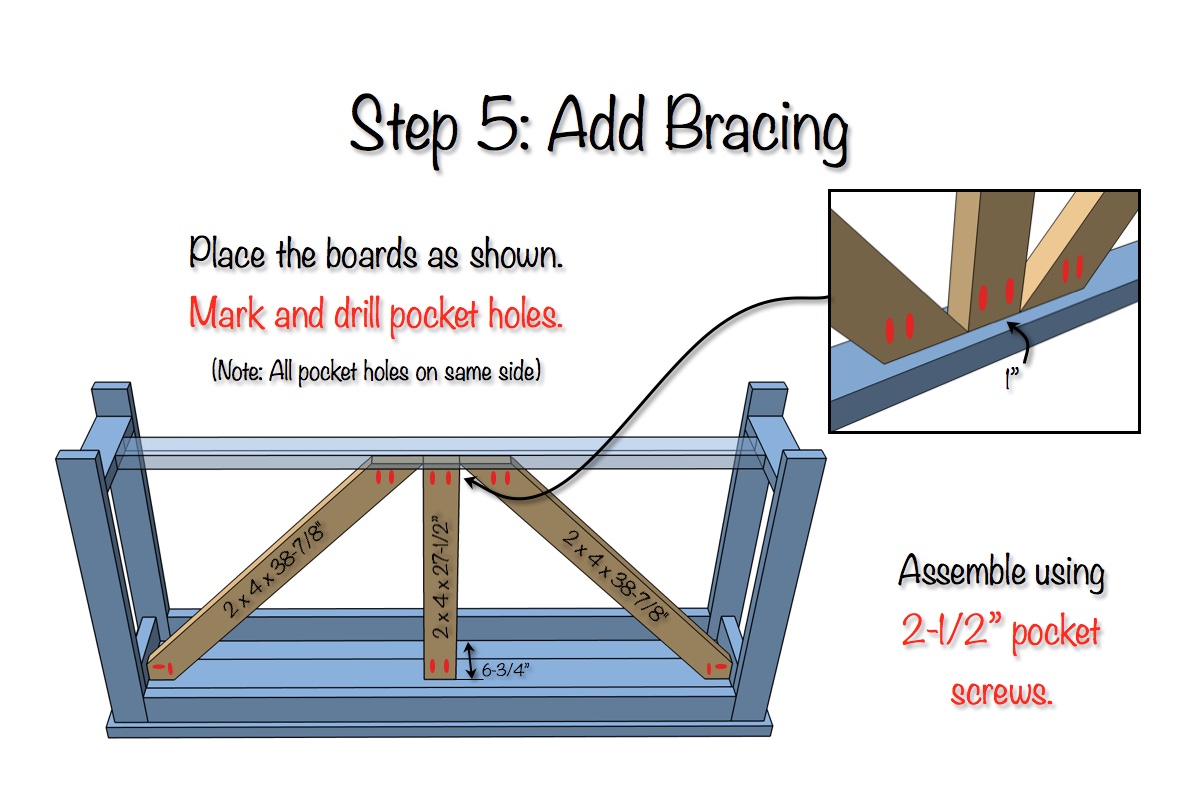
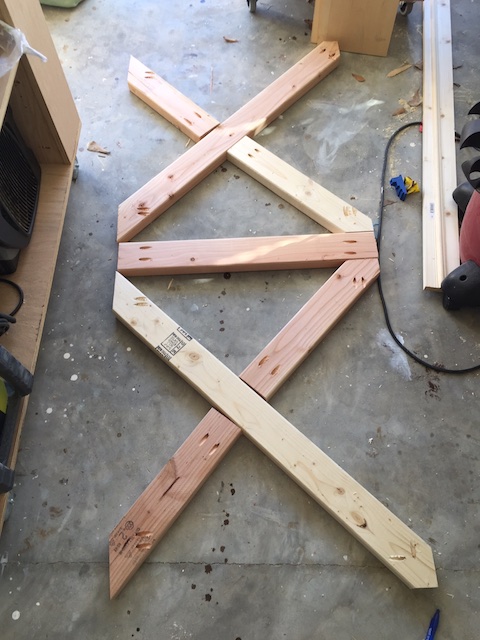
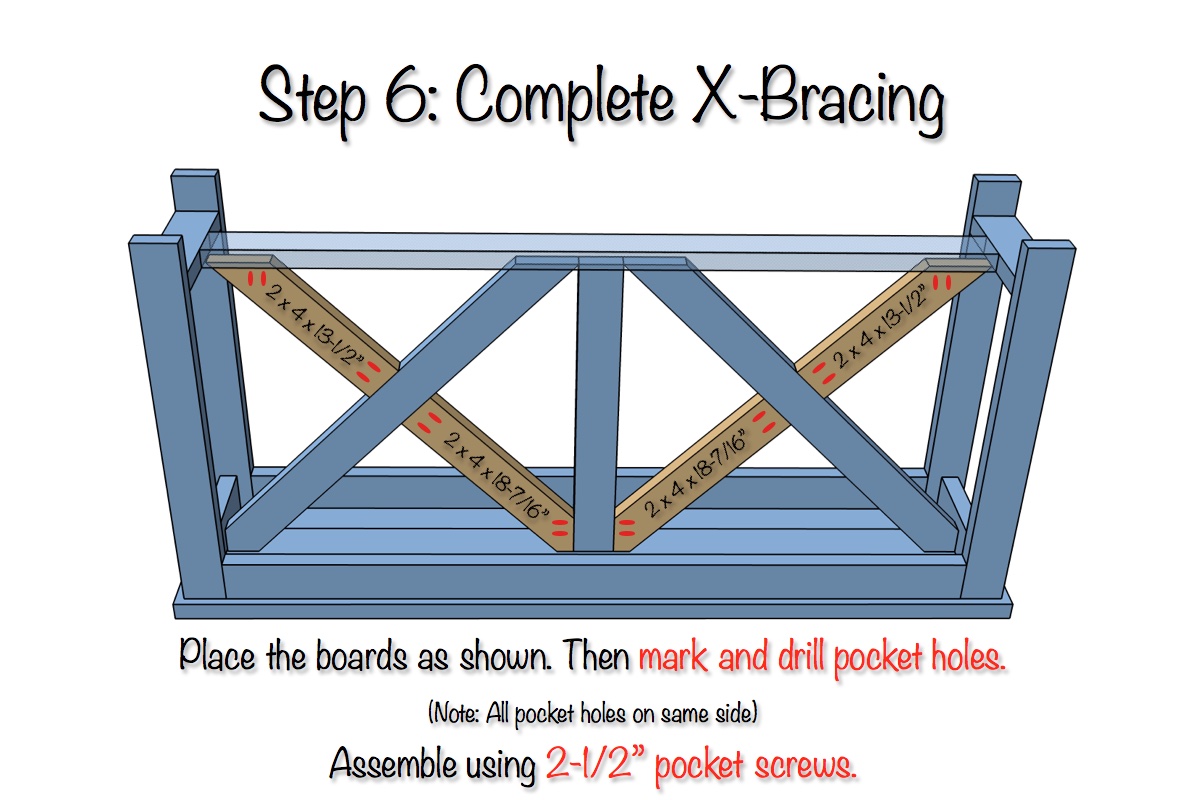
Note: The pieces used for the X brace should be sanded before assembly unless you want to make it harder on yourself.
X-Brace Console Table Plans
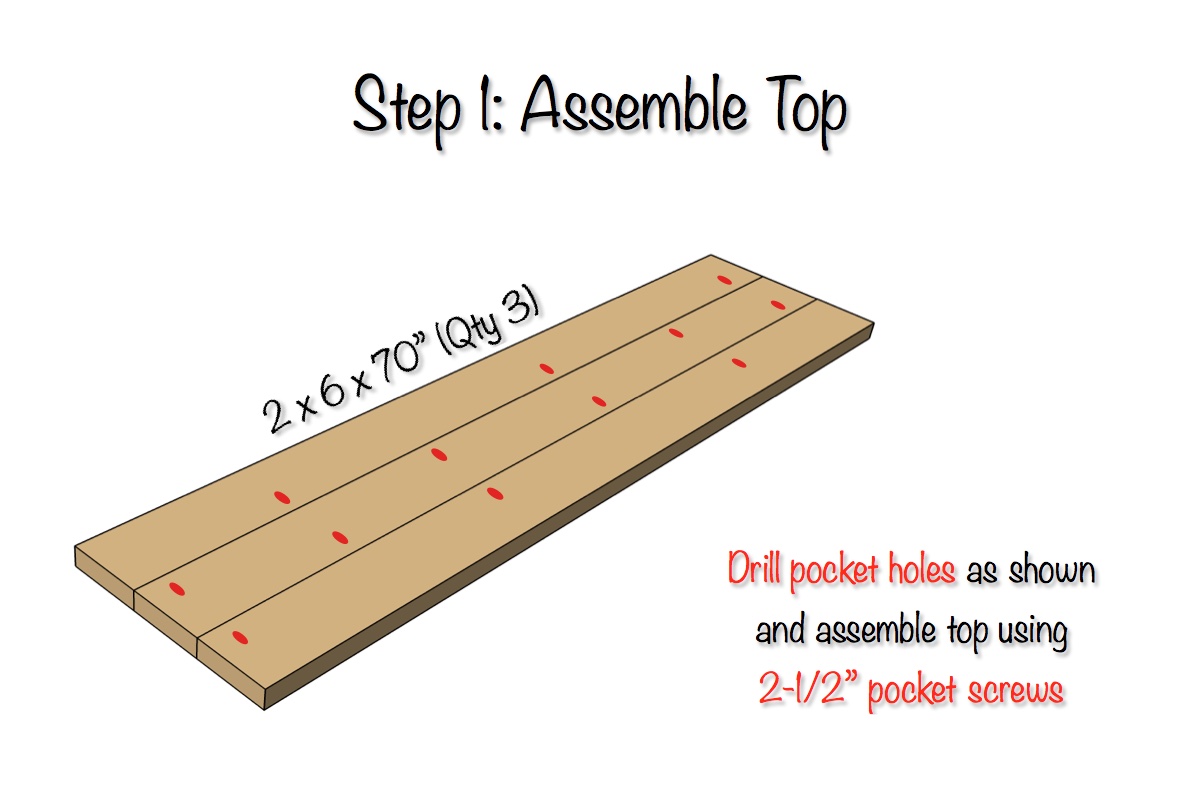
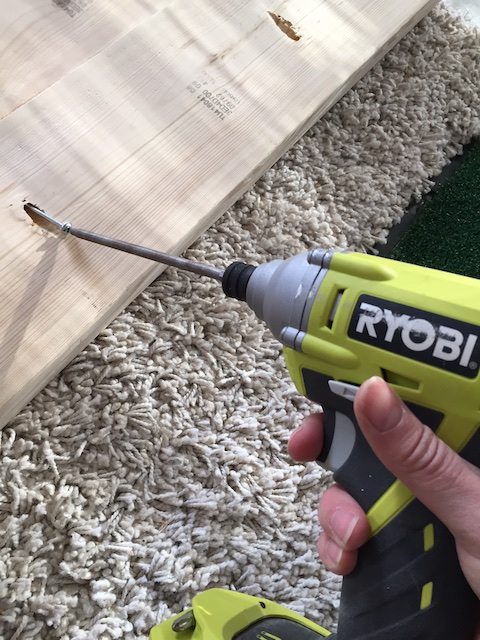
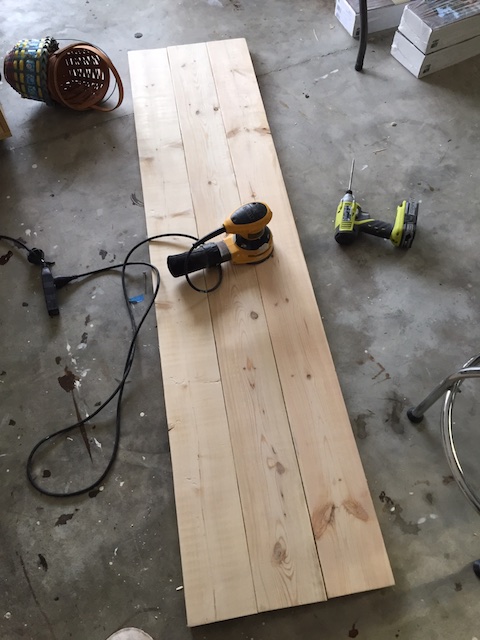
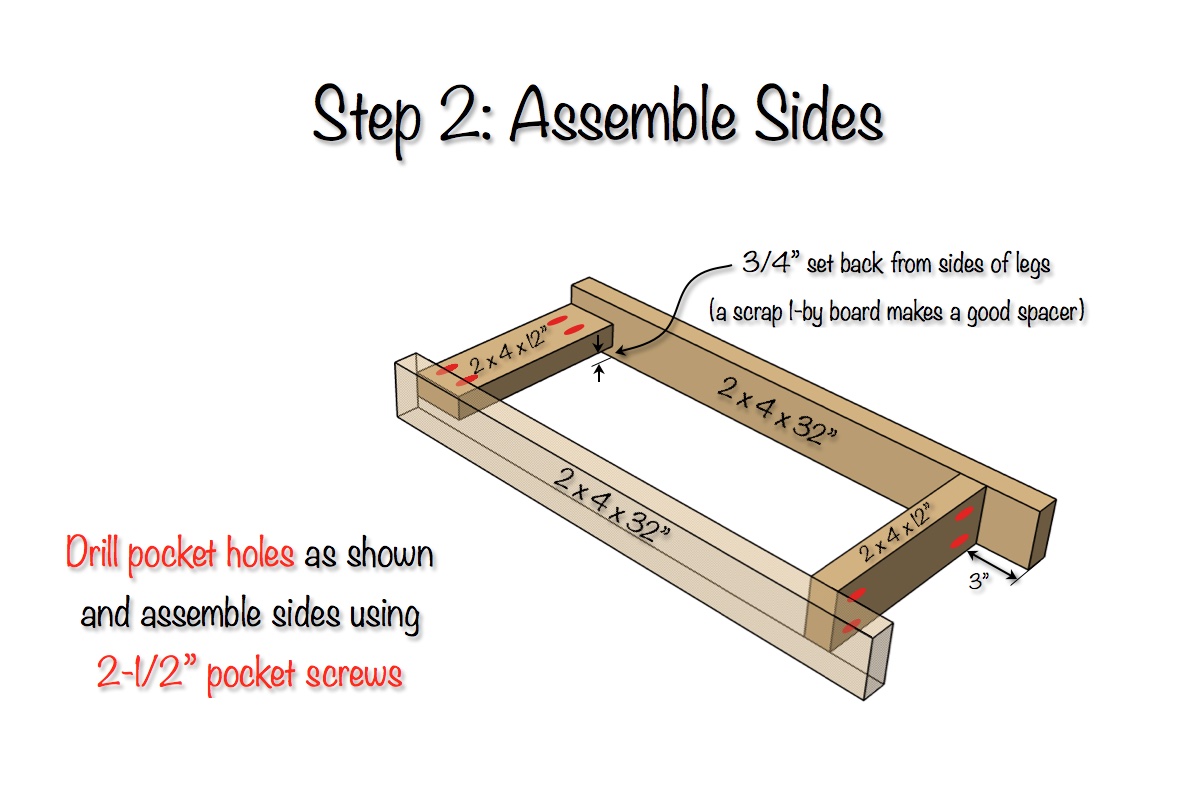
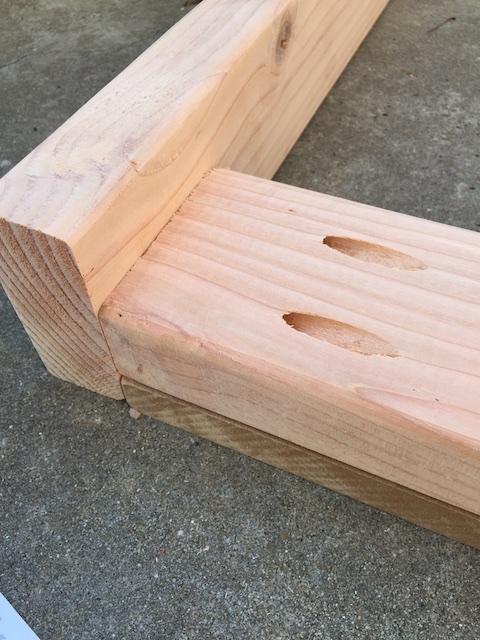
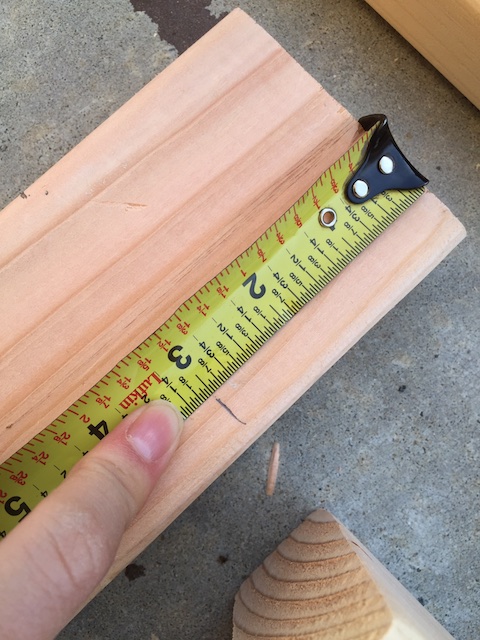
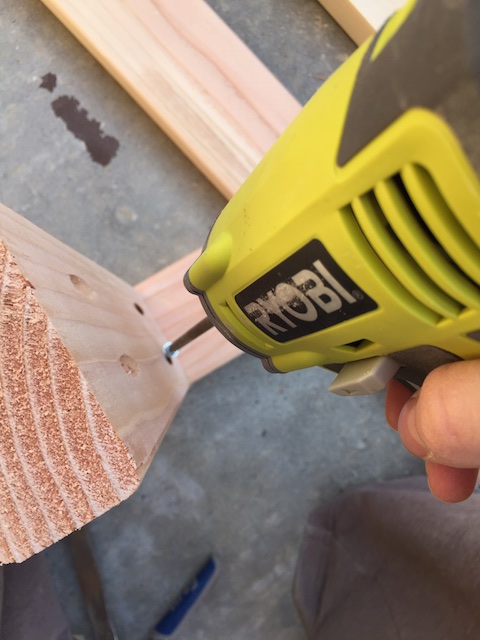
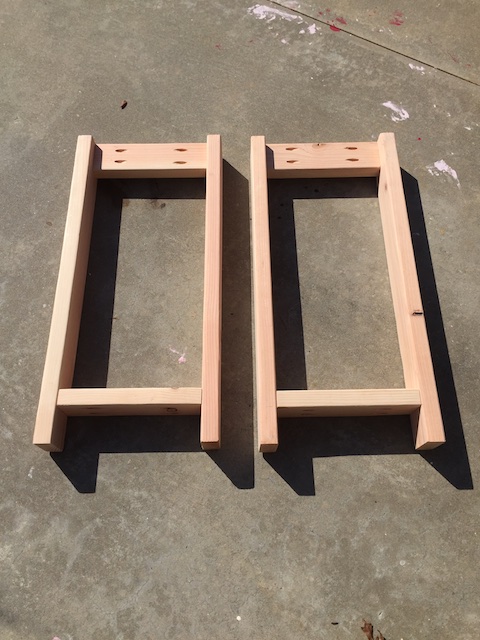
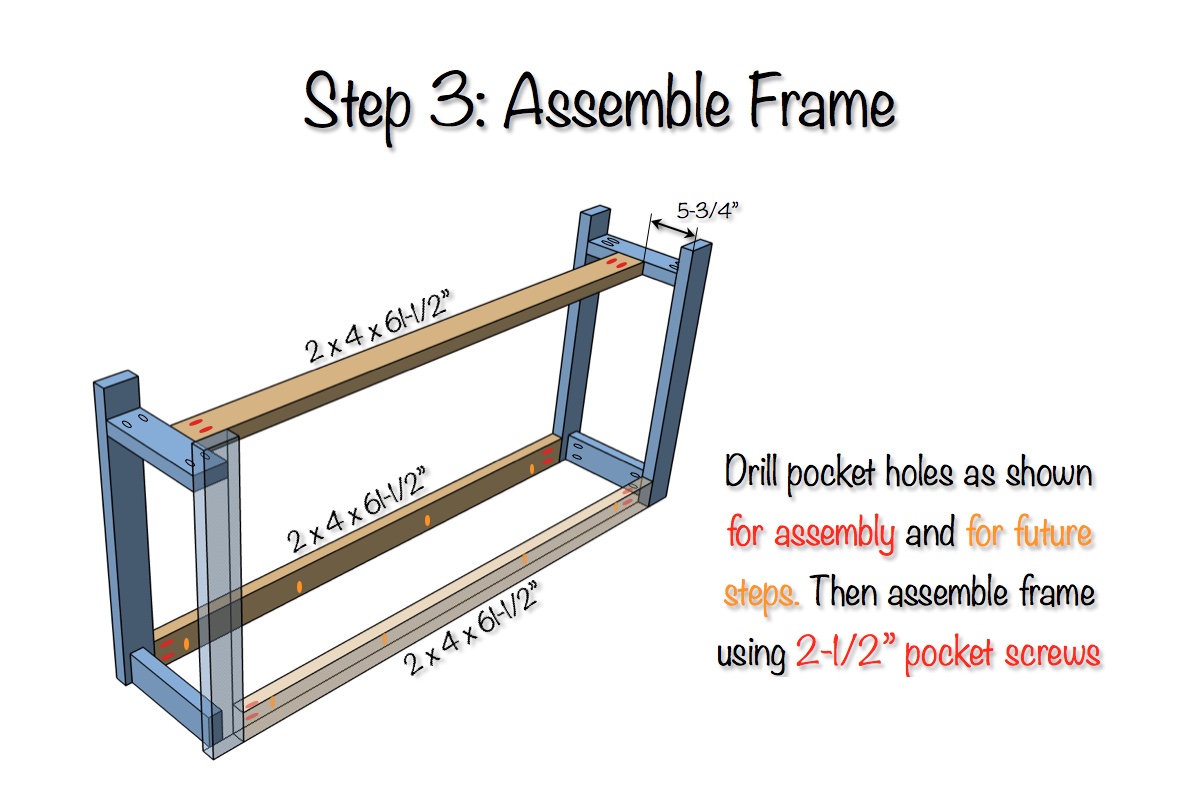
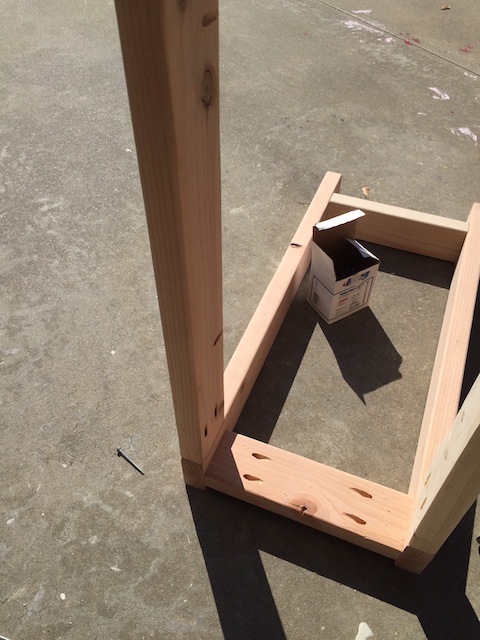
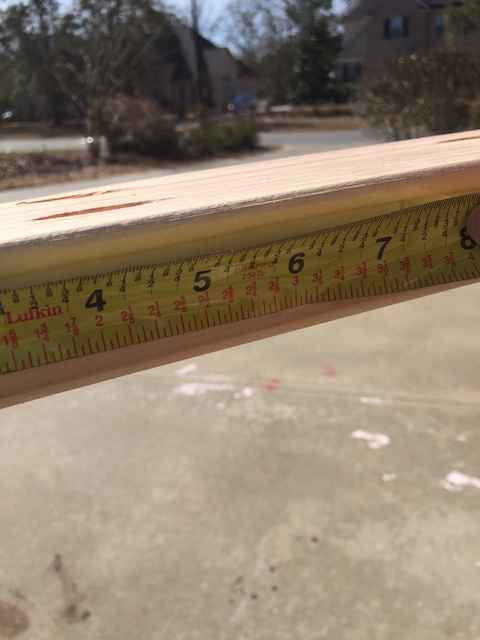
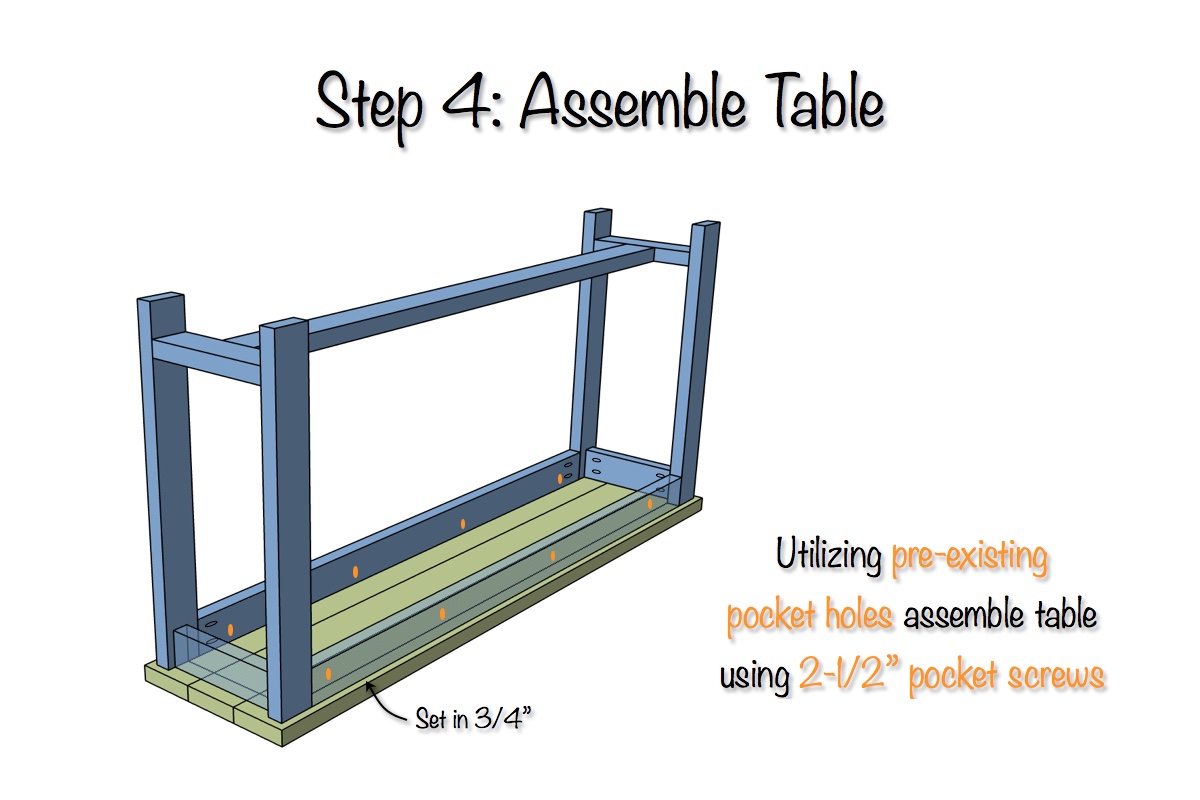
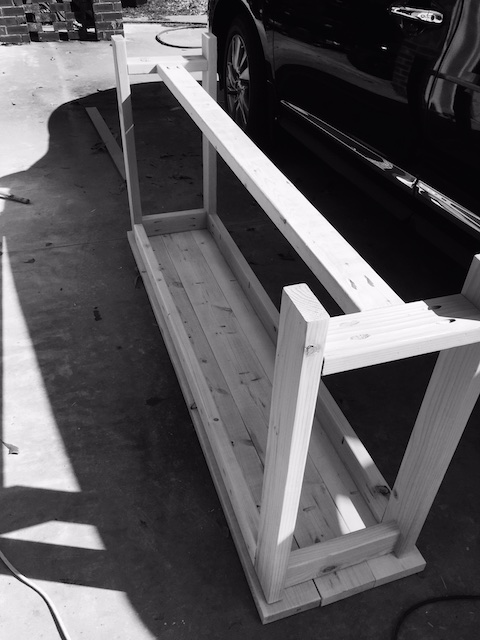
Finishing
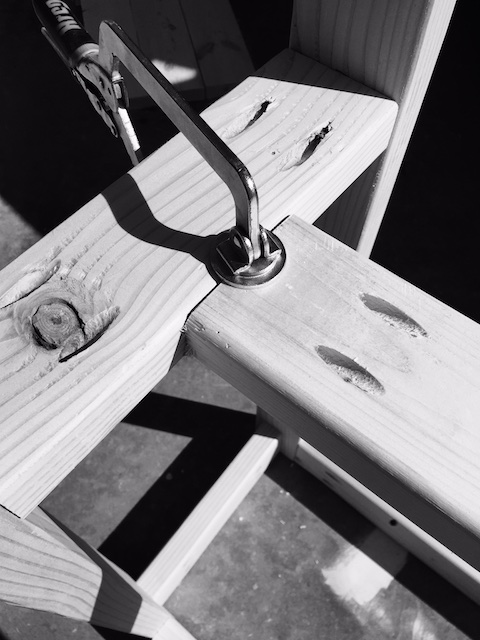
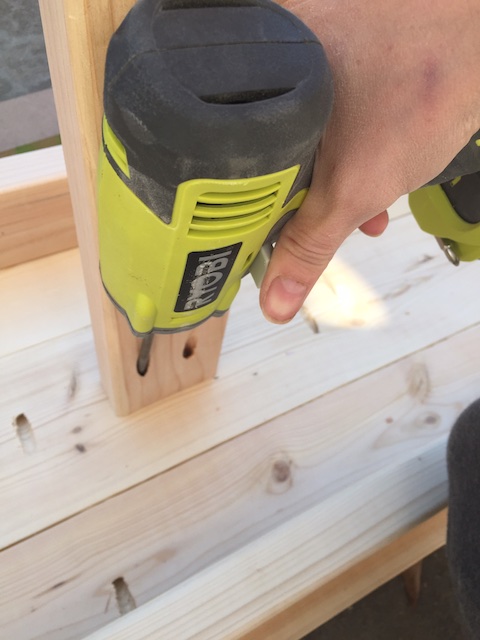
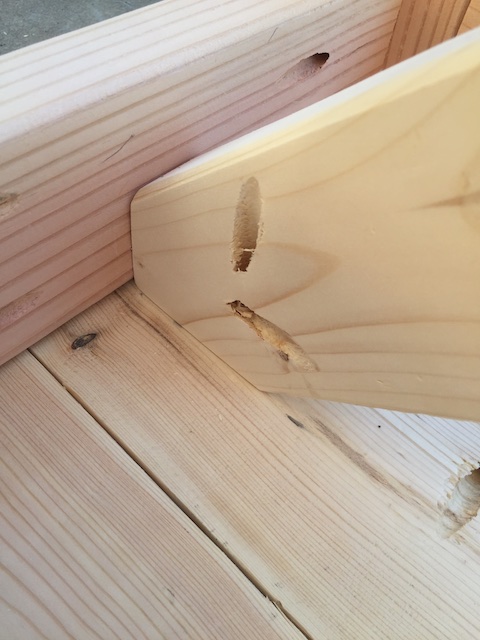
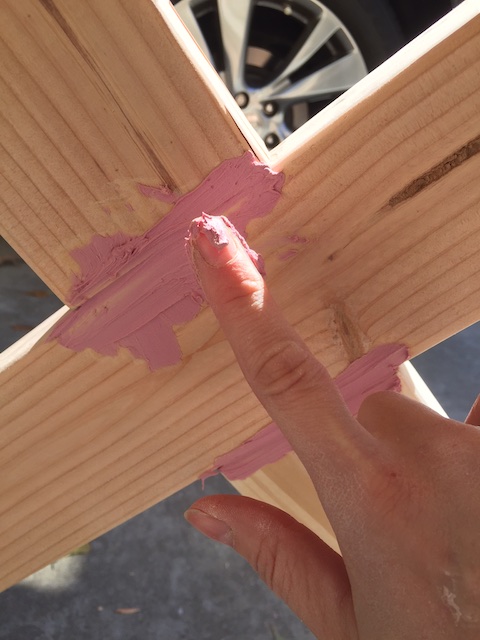
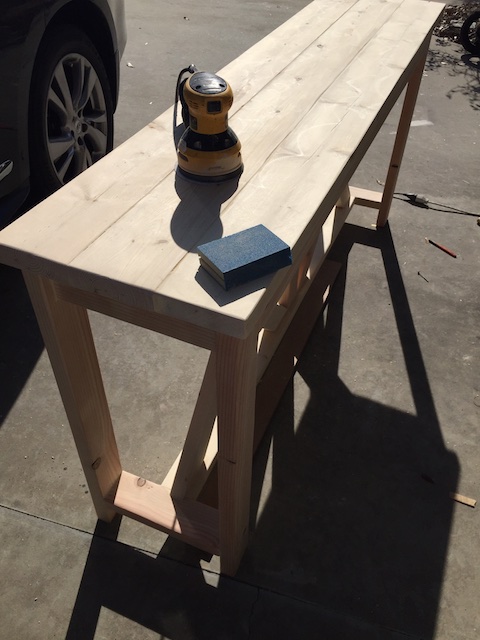
If you mind the pocket holes in the back then you can fill those with pine Kreg pocket hole plugs. Since this console table is going against the wall Jamie decided to omit this step. She did however choose to fill the seams with wood filler before sanding the table completely.
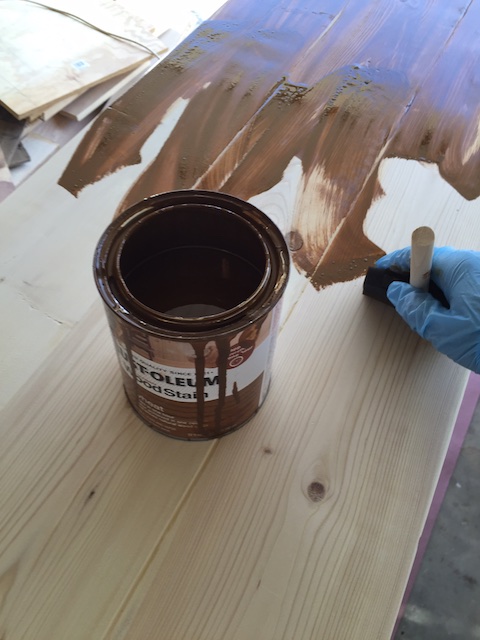
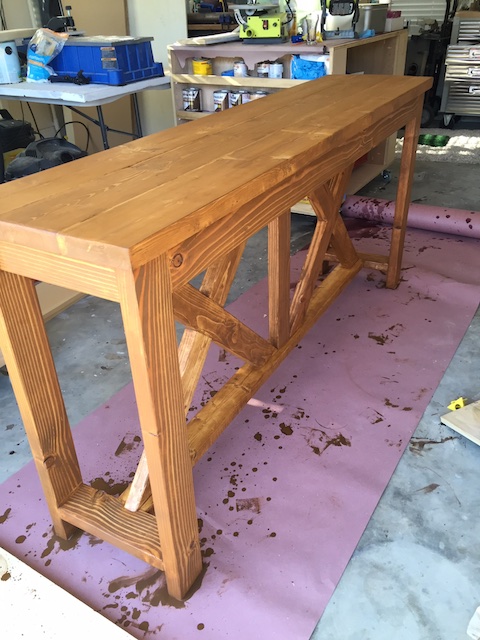
After prepping the table she stained with Wheat wood stain from Rustoleum and finished with a semi-gloss polyurethane.
Questions? Comments?
As always, if you have any questions don’t hesitate to comment below and especially don’t forget to post pictures of your finished products in the comments! ENJOY!
Great plans! Might have to find a place for this, soon!
Thanks Shawn!
This is so AWESOME. I cannot wait to build one! Thank you so much for the amazing plans! 🙂
Thanks Sam. Be sure to post pictures when you are done! We love to see the finished product.
Do you have to use the brace for it to be structurally sound? Id really like to build a shelf about halfway down instead. Thanks. It looks great.
Absolutely Heather. It would be plenty strong. Another good option with a shelf is the Rustic X Console table by Ana White. Find that here: http://ana-white.com/2012/05/plans/rustic-x-console
I adapted your table into a 4′ foyer table but I found my oops half way through assembly. The x -brace measurements don’t work lol. How do you figure these out? I also changed the top a little too.
http://i71.photobucket.com/albums/i125/eric-holmes/B1491740-90D7-4A16-AA3B-07406FFB59B6_zpsmsgypxvf.jpg
Oooo yea that’s an issue. Since these are square Xs if you compress them the angles will change. What those angles and length would be, I’m not sure. Another option is to use just one X pattern. Hope this helps.
Excellent plans. Table looks really good in my living room…thanks
Thanks @Armando Ochoa. I’m glad it turned out well!
Thank you for such detailed plans. My husband and I have never built anything like this before and you made it so easy and helpful!! Excellent plans! I have attached a picture of our finished table.
We also added a shelf on the bottom for more storage!!
What a great mod @Cayla! Great job on this and thanks for sharing. This was a great first project and I’m sure there will be many more! Happy building and welcome to the community!
Reattaching photo that was removed:
Great instructions. one of my first projects. Took a little work to get the x’s to fit perfect, but happy with the results. Bigger than I thought.
Looks great @rick! good work. Thanks for sharing.
Reattaching photo that was removed:
Loved this design!
Thanks Alexandra!
Hello! Love this table! Can you perhaps tell me the dimensions/ frame sizes of your gallery wall? Thank you so much in advance!
Kristin, I ordered the entire gallery from picturewall.com
Kristin, I ordered the entire gallery from picturewall.com
Your super impressive and very skilled. I’m going to make this table this weekend. I appreciate the detailed plan you posted. Quick question… Is there a program you use to make the diagrams showing the different colors related to wood pieces and lengths? That’s super informative and easy to understand. Thanks for your help! -Ken
Thanks Ken! This done using the same CAD software used to model the furniture. Google SketchUp is a great free program that can be used to do this. For the cut list I just take a top down shot and mark it up in Snagit. It’s all done manually but could probably be done just as easy on graph paper.
it would be awesome if you could put measures in metric system as well 😉
I’ve gotten several request for this. I converter of some sort might be in order.
Everyone’s finished product looks amazing! My Fiancé and I are going to attempt this as our first DIY furniture project this weekend! Hopefully it will turn out just as fantastic!
Thats awesome Nikki! We forward to seeing how it turns out. Happy building!
This is so awesome! Thanks for these great plans and clear instructions!! Planning to hit the hardware soon to make this!
No problem Julie!
I have been stalled for a few months, not knowing what Kreg jig I should get to do some projects. The plans I’ve had in mind, like yours or a console table on Anna White’s site both use 2×4’s. Can you use a K4 with 2×4’s or do you have to have a kreg hd for 2×4’s. I have looked at your guide which is helpful and think the K4 might be the one to get. But if you could confirm this for me, it would put me more at ease of my decision and help me get moving. Thanks!!!
Either of the Kreg jigs will work with 2x4s. I actually prefer the K5 to the K4. It’s a little easier to use. Either way would be fine though. Happy building.
Thank you, I appreciate the advice
Love the idea and plan! My husband and I are planning a tavern style basement, and this is just what we need! Do you have any idea how much weight this piece can hold? And if this could be made taller for a bar height?
Thanks Renee. This thing can hold a ton of weight and could be made at bar height by just extending the legs. The bottom of the X would just be a little higher off the ground.
This looks great and I like the x brace at the back.
Thanks Robyn!
[…] had my eye on this plan by Rogue Engineer and I adjusted the dimensions to fit our couch by making the table lower and narrower. Getting the […]
Thanks for the Plans! Mother’s day gift is done. I plan on building an end table to match from the Ana White site.
My wife loved her mother’s day gift!!! Thanks for the plans!
Todd this looks great! Glad she liked her gift. Thanks for sharing.
What color stain did you use on this and was it a semi gloss? It is beautiful. We are working on ours now and I love this color😊
If I wanted to make this table 65″ long and 12″ wide (keep the 33 1/2″ height) what would the new measurements be to cut everything? I’m scared I’m going to calculate it wrong. Thanks for your help!
I would suggest just holding making the length adjustments, then for the X you can hold the boards in place, mark and cut.
Loved making this for my girlfriend, and she loved the result. Went with a Kona stain throughout, then drybrush layered white stain on the top. Then took a sander to the top to remove excess white. Sizes are exact, and great statement piece
This turned out awesome and I love the finish you did on this! Great job!
Thanks for the inspiration. Here is my finished product.
Reattaching photo that for some reason does not attach to original post. Mine was 72x14x36 constructed out reclaimed wood from a redwood pergola. Also used half lap joints in the cross braces. The finish is General Finishes Java Gel Stain.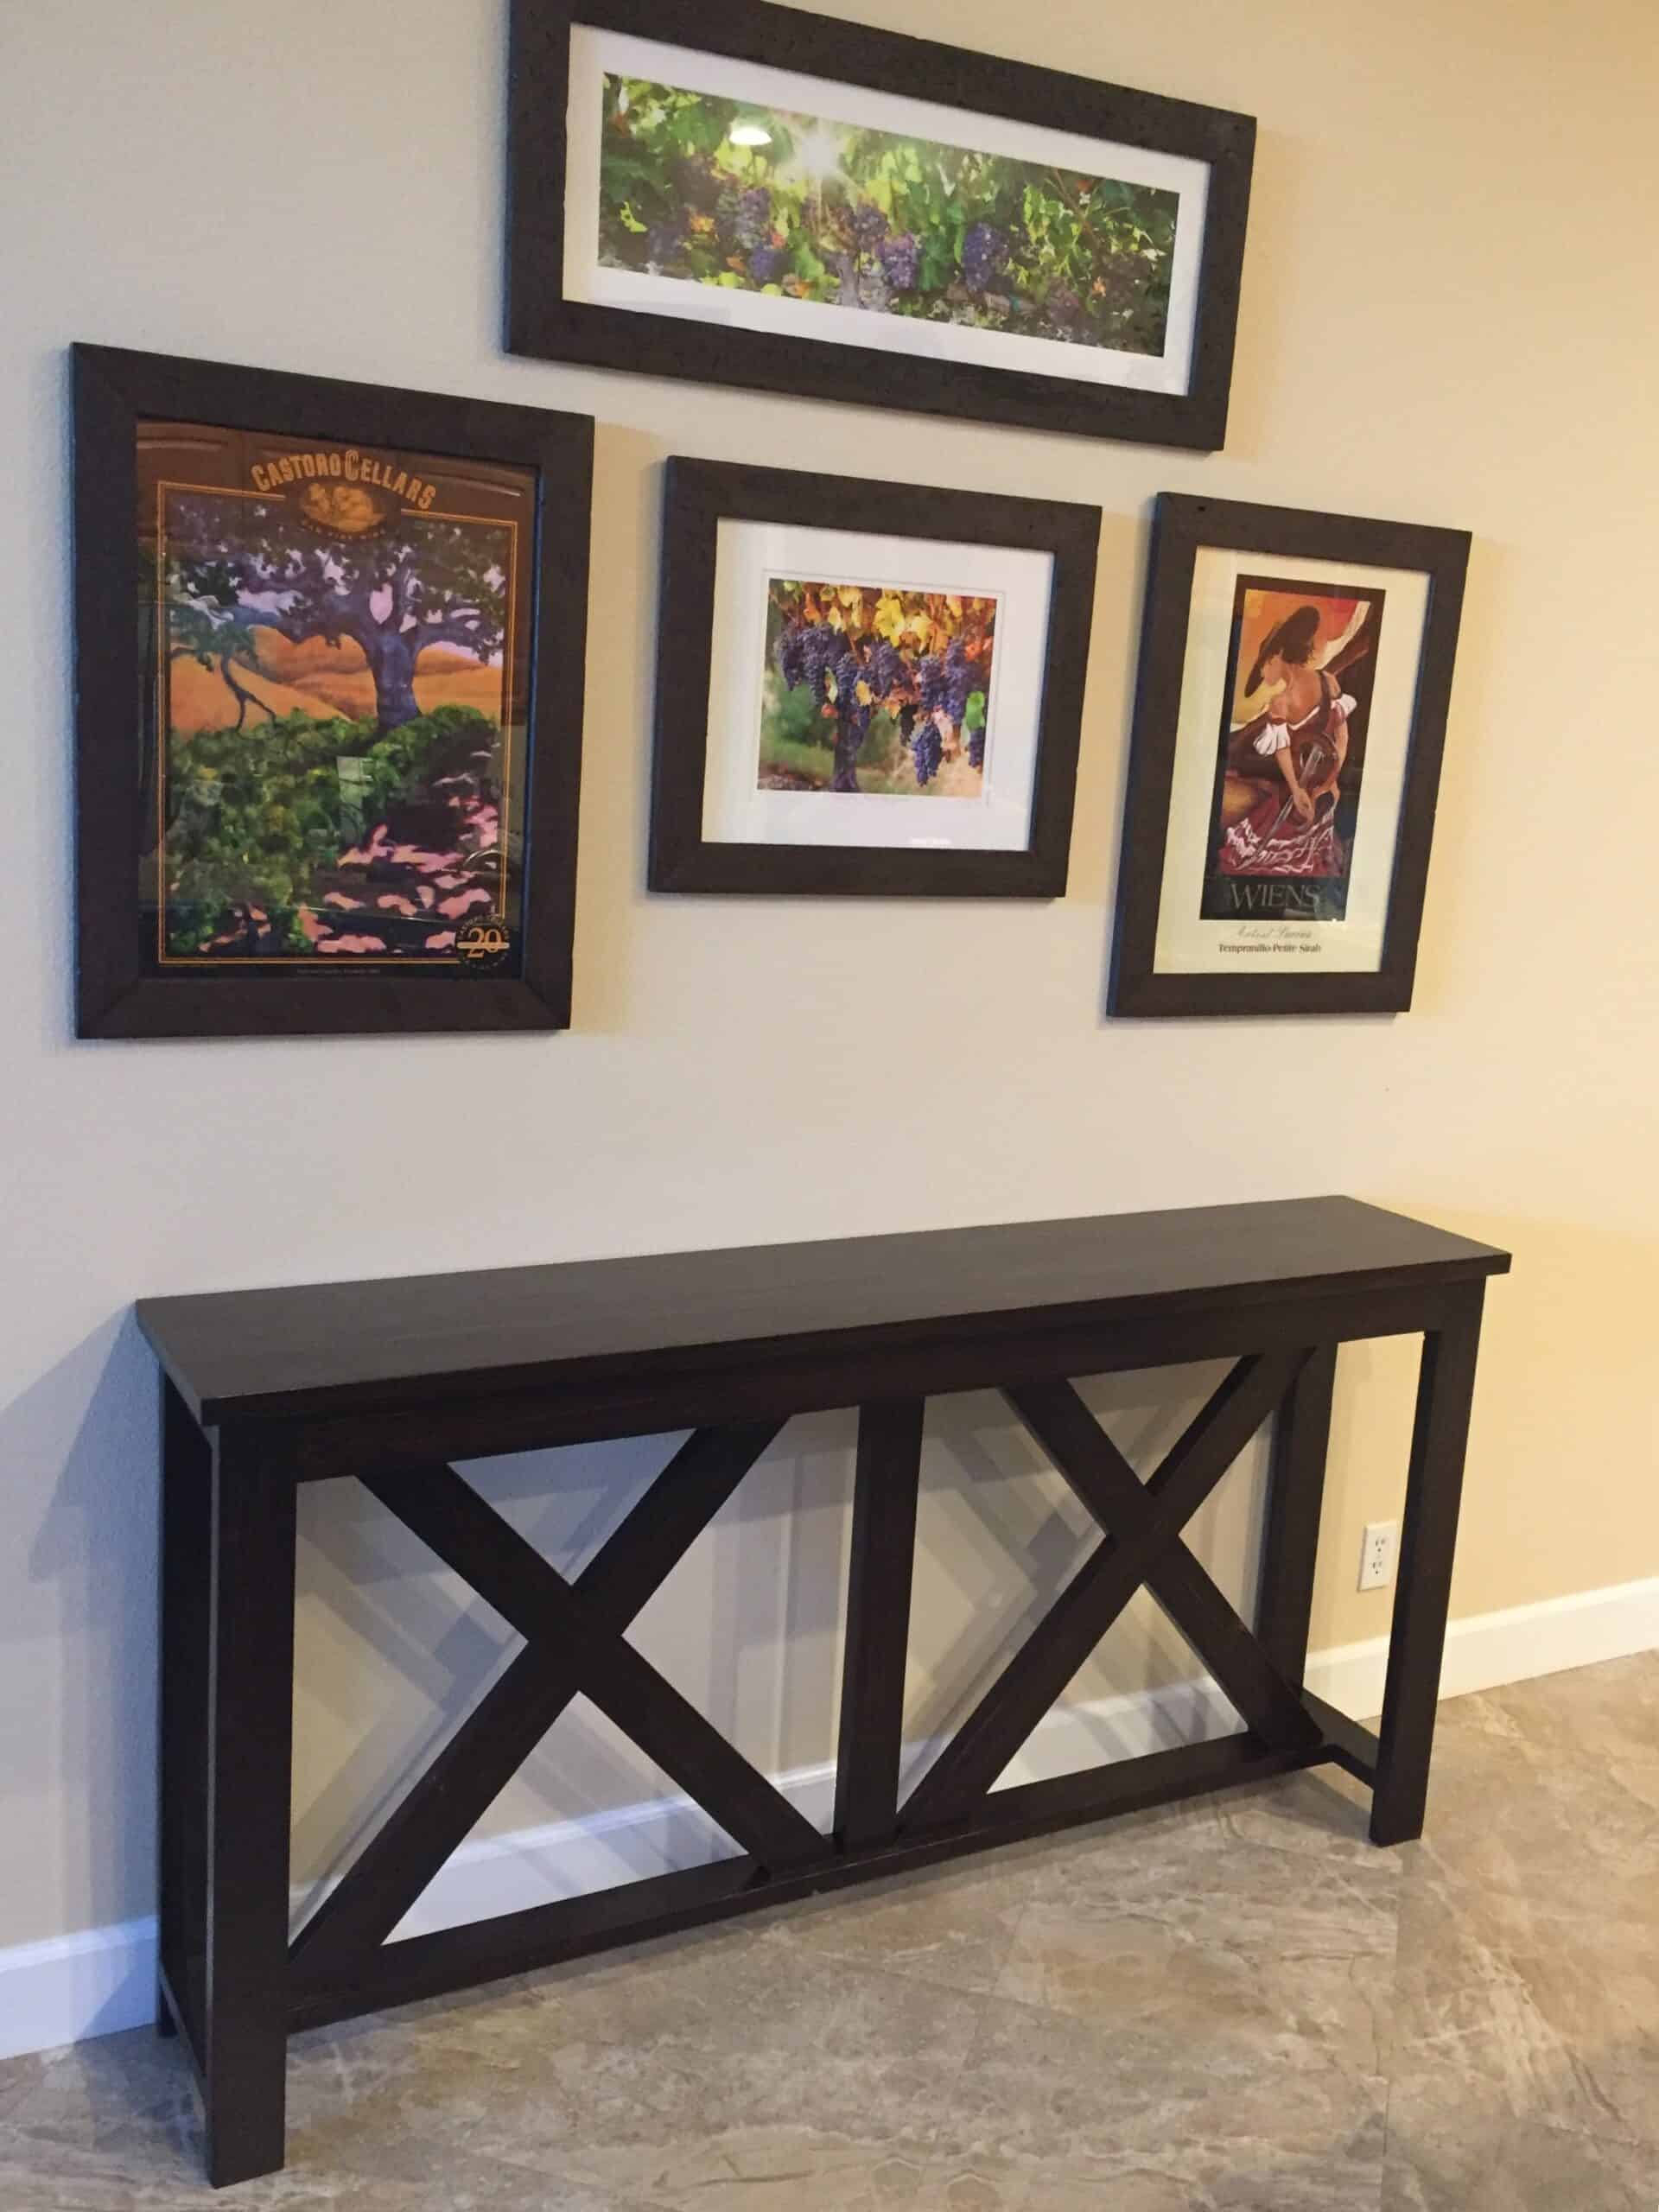
My husband just finished this!! His first piece of homemade furniture!! Thank you for the plans which were explained so well that it made the project easier than we thought it would be!! We are excited to try other projects of yours!!
I love this stain color! do you remember what brand and shade you used?
I considered myself an expert at putting together pre made furniture but never tried anything from scratch. I suprised my wife with this and she was thrilled! This was way more rewarding and a lot less frustrating than any premade piece. Thanks so much for the plans!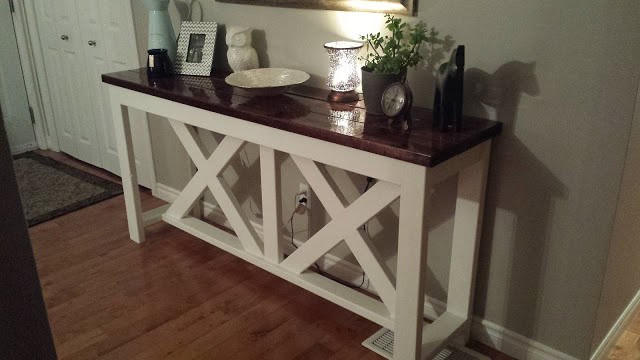
I’m trying to shorten the table to 55″. How do you figure out the x -brace measurements? I’m thinking about using SketchUp to help me determine the x -brace measurements. What software can you recommend?
What is the wood recommendation for this project? White Oak, Red Oak ?
This was my first rogue engineer project about 2 years ago! I haven’t stopped since!
We made this table and we absolutely love it. We did shorten it by 6 inches. Here’s how ours turned out https://mrsrogersfirstneigh…
Thanks for the inspiration, here is a picture of how it turned out! Your site is awesome and your detailed plans are easy to follow. I’ll definitely be making https://uploads.disquscdn.c… another one of your projects soon!
To simplify the challenge since I am new to woodworking, how would it be structurally to not do the support x cross brases and vertical one (still keeping the bottom long brace)? Maybe adding a perpendicular one under the table top?
Had a great time making this. After building my Dining Room Farm Table 3 years ago we had been waiting to find the right plans for me to make the appropriate buffet table to sit next to it in our dining room. When I saw your plans I knew my 3 year wait was over and started building it 3 days later. I am so excited with how it turned out, by far the nicest piece I have built to date and your plans made it so easy. I made a few modifications ( No “X” Pieces & added a bottom shelf ) to finish it off. light Oak stain and 6 layers of Polycrylic. Coffee table next on the list. I like your industrial one so maybe I’ll have a go at that soon. https://uploads.disquscdn.c…
This looks great! What size boards did you use for the shelf? 1x4s? And did you have to modify the table dimensions so they sit flush in between the 2×4 legs?
I use 1×8 and a 1×3. It fit perfect. Pocket screwed then togeather and they layed right in no plan modification needed.Then I just pushed the lower supports to the back of the frame and mounted then the the shelf I added rather then the center 2×4 support
Always been interested in woodwork and your plans and step by step directions are awesome. Here’s how I finished the table. https://uploads.disquscdn.c…
Hello! Im going to attempt this project with my brother in law… what type of lumber should I be considering? Not sure what “premium lumber” means.
Love your work!!
Just get the best construction grade lumber you can.
Thanks for the plans. My wife received this from me as an anniversary gift last year. This is my burned wood take on your design. https://uploads.disquscdn.c… https://uploads.disquscdn.c… https://uploads.disquscdn.c…
That’s awesome man! Thanks for sharing!
I made my first indoor furniture from your plans. I didn’t do the X’s on the bottom. I’m impressed with what I was able to create for $38. https://uploads.disquscdn.c…
If the x braces were moved to the back instead of the middle, would this be deep enough to sit under with bar stools?
https://uploads.disquscdn.c… https://uploads.disquscdn.c… Thanks for the plans! Love the way it turned out.
Hi Jamison.
Thanks for the instructions. I have few questions, if you can be kind enough to answer them for me please ?
1. Timber I am planning to use is treated pine. Is it ok to use this timber ?
2. Did you get rid of rounded edges from the timber ? Is that the reason the width of table top is 16 1/2′ ?
Thanks a lot again!
Harm
My wife and daughter finished and put it in place before I could get a ‘finish pic’.https://uploads.disquscdn.c…
https://uploads.disquscdn.c… I have never built a piece of furniture before, so my wife was cautiously optimistic. Your plans were perfect!!! I shortened its with slightly and raised it. I moved the bottom cross-bar to the back and did not do the ‘X’. Now we have a perfect coffee/wine bar in our dining room! (Note: these are not the stools we are using just extras we had in the house). Thanks So much.
Hey thanks for the plans. This was my 2nd woodworking project ever, so this turned out great because of your details. Here are some pics of the final project.Thanks again, David https://uploads.disquscdn.c…
I had this built and it looks great but I regret not using woodglue, is there a reason wood glue was not recommended?
Finished my take on this yesterday.Made it shorter and wider to fit a small area between our kitchen and dining room. Did a river table out of a live edge slab of oak I got and put 3 layers of table top glaze. Fits great and the wife loves it.https://uploads.disquscdn.c…
I am attempting to download the plans but it never brings anything up. I downloaded the manual suggested at the top and I still cannot find any plans for this. Am I doing something wrong?
Email me at @Jamison Rantz.com">jamison@Jamison Rantz.com